As an Amazon Associate I earn from qualifying purchases.
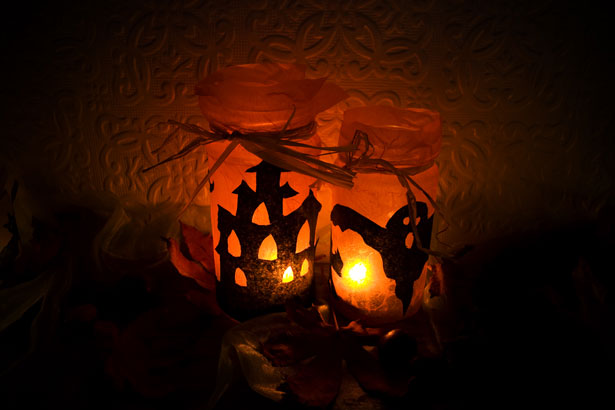
Halloween window lanterns make lovely ornaments that can be seen from the street. They add a warm touch to your home décor as well. These decorations are really easy to make and are a suitable Halloween craft for children. Here is a tutorial for you to help your kids to create these fantastic ornaments.
How to make Halloween window lanterns

Easy and fun crafts to make, Halloween window lanterns actually range from ghosts that you can hang on the window to skeletons, hanging Halloween masks and lanterns that you can place on your window support (using battery operating tea-lights you won’t even fear about fire risks).
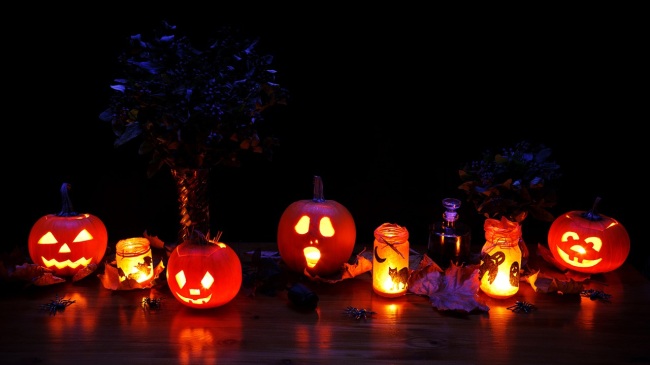
Halloween window lanterns will give your home a festive look that will wow your neighbours. Making Halloween decorations is an ideal holiday activity to do as a family. Here are a few homemade Halloween window lanterns for you to decorate your home this October.
Materials to make these Halloween window lanterns
What you should have on hand for your homemade decorations.

Before starting to create your Halloween window lanterns, you should have these items on hand so that you don’t find yourself stopped in your creative endeavours. Most are available at your local supermarket or craft store.
- Black construction paper or black paint
- Orange tissue paper or orange paint designed for glass
- Mason jars
- Raffia (optional)
- A white pencil
- Scissors
- Glue
Instructions:
- Glue the orange tissue paper on the jars or paint them orange. Allow to dry.
- Draw bat, pumpkin, witch, spider and other Halloween silhouettes on sheets of black construction paper using the white pencil.
- Cut them out.
- Once the paint on jar has dried, glue the shapes inside them.
- For a more natural look, decorate with a bow made out of raffia.
- Light the jars using battery operated tea lights.
Alternative:
A good alternative for more skilled children, is to draw silhouettes on the painted jars and then have them paint the silhouettes black.


